Unleashing the Magic: A Step-by-Step Guide to Projection Mapping with QLab
How-to Get Started with Projection Mapping using QLab
Welcome to Tech Direction, your go-to resource for all things technical in the world of live entertainment. In this blog post, we are diving deep into the captivating art of projection mapping using the powerful software, QLab. Whether you're a seasoned professional or just getting started, get ready to unlock the full potential of projection mapping and bring your productions to life like never before!
NOTE: These features may require purchasing a license for QLab to output video or do specific functions. Take a look at https://qlab.app/ to for more info and pricing.
Step 1: Set Up Your Workspace
Launch QLab and create a new workspace for your projection mapping project. Organize your workspace by creating separate cue lists for different scenes or sections of your performance. This will allow you to easily manage and control your projection cues.
Step 2: Import and Prepare Your Content
Import your projection content, including images, videos, or animations, into the QLab workspace. Arrange your media cues in the cue list, ensuring the order and timing align with your desired mapping sequence. QLab supports various media file formats, making it flexible for incorporating different types of content.
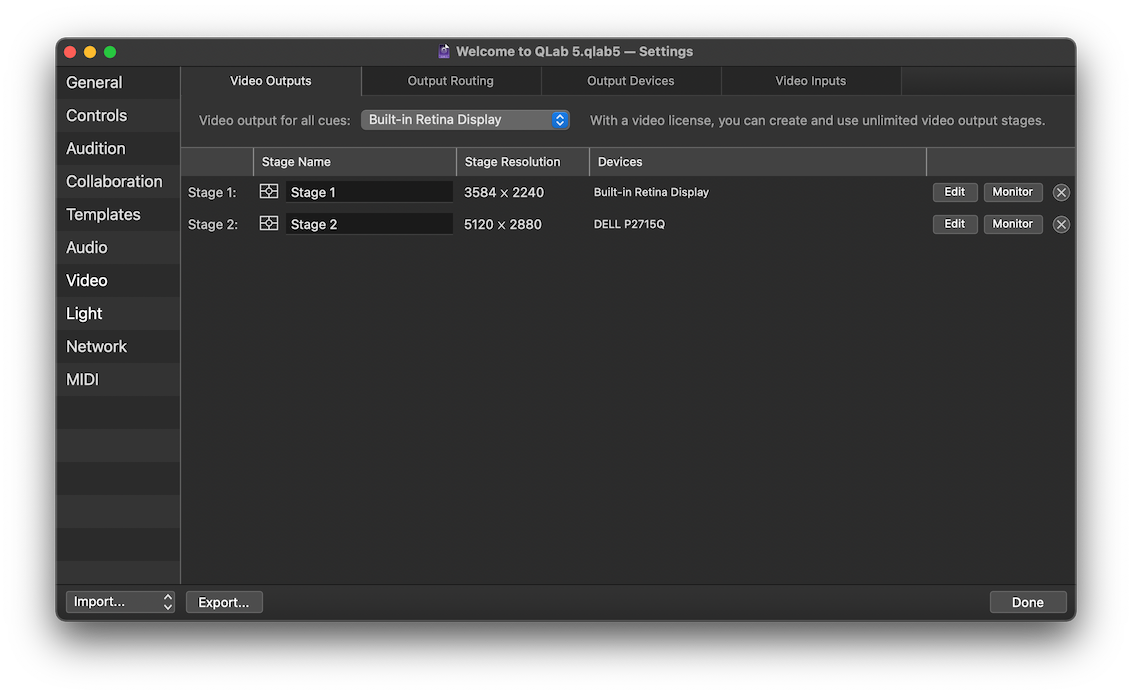
Step 3: Create a Surface Geometry
In QLab, open the "Surfaces" tab and create a surface geometry that corresponds to your mapping surface. Use the editing tools to define the shape and dimensions of the surface. QLab provides options for basic shapes like rectangles and circles, as well as the ability to import custom shapes or use the built-in corner pinning feature for more complex surfaces.
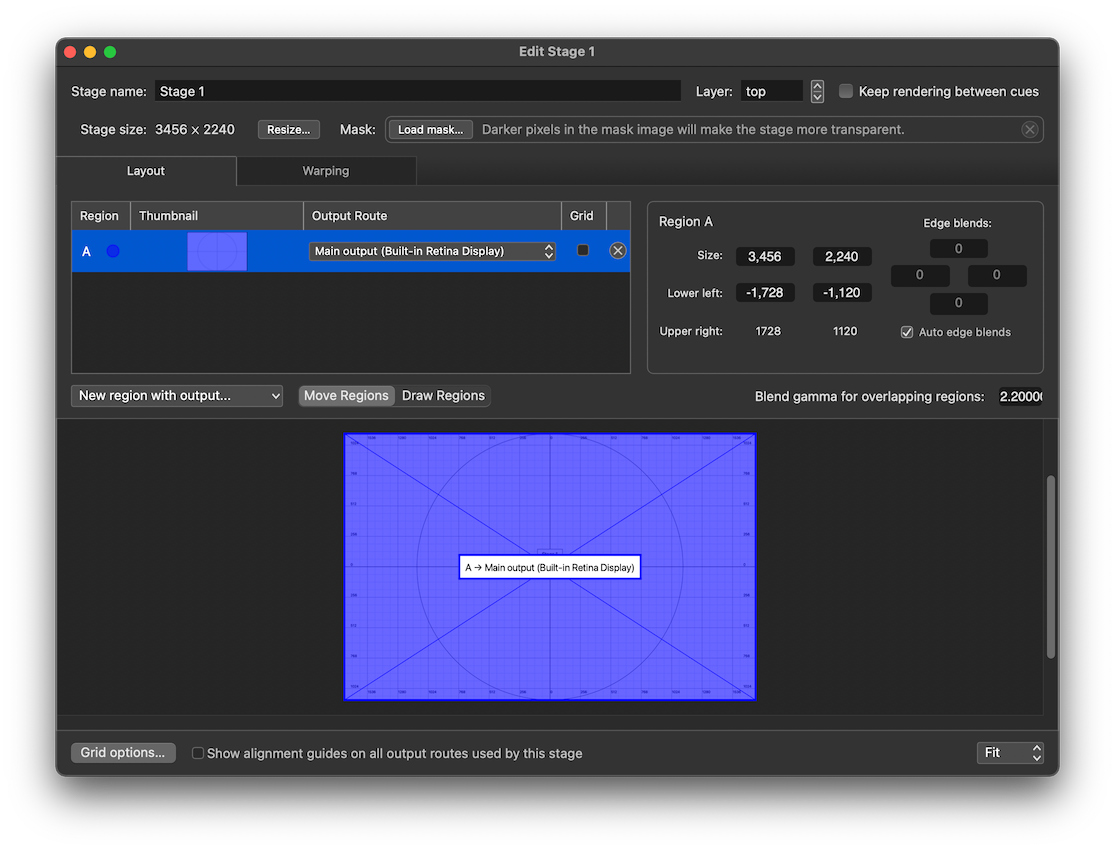
Step 4: Apply Your Media to the Surface
With the surface geometry in place, assign your media cues to the surface. Select the desired media cue, then drag and drop it onto the surface in the "Surfaces" tab. QLab will automatically map and align the media to the designated surface based on your surface geometry settings.
Step 5: Fine-Tune Mapping Parameters
Refine the mapping parameters to achieve precise alignment and positioning of your content on the surface. QLab offers a range of controls for adjusting scale, rotation, position, and perspective to ensure the projected content fits perfectly on the mapped surface. Take your time to fine-tune each media cue for seamless integration with the surface geometry.
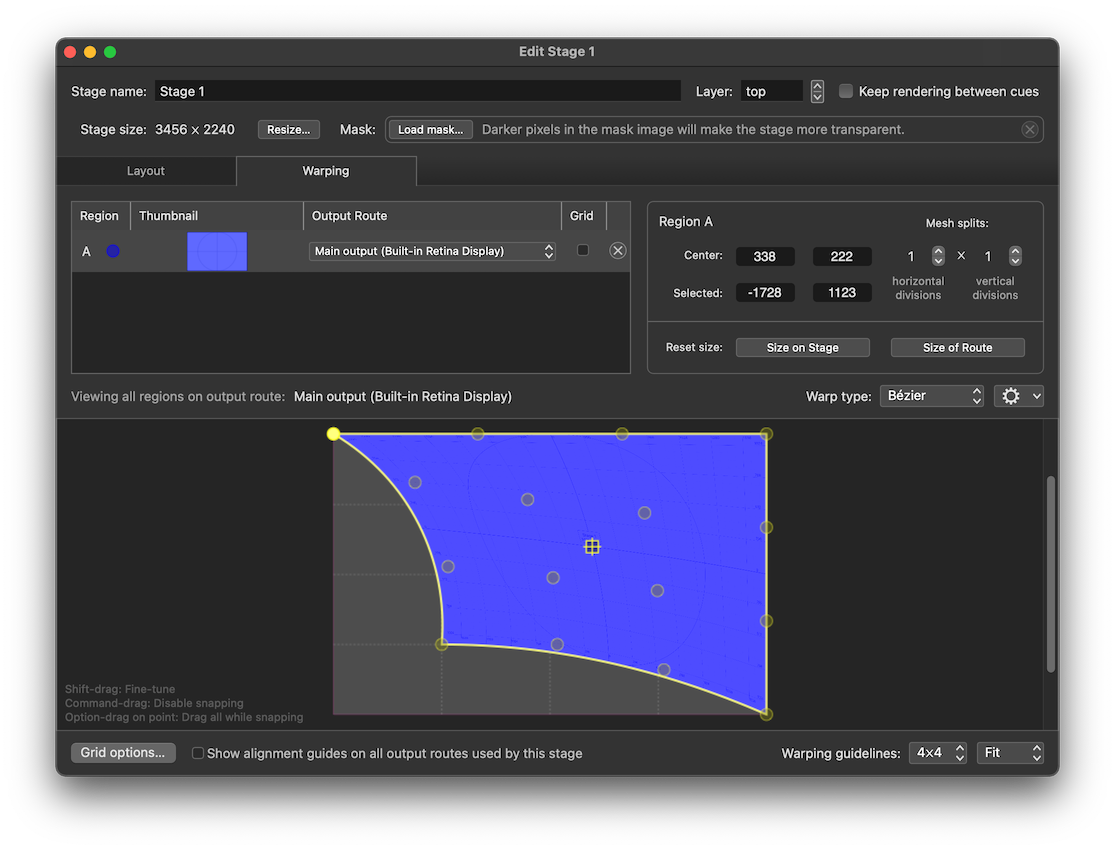
Step 6: Apply Edge Blending and Masking (if needed)
If you are working with multiple projectors or blending projections across edges, use QLab's edge blending feature to seamlessly merge the projected areas. Adjust the blending parameters to achieve a smooth transition between projectors. Additionally, utilize masking tools to selectively reveal or hide specific areas of your projection as required by the design.
Step 7: Cue Timing and Transitions
Refine the timing and transitions of your projection cues to synchronize with other elements of your live production. Use QLab's timeline-based interface to set precise cue triggers, fades, or crossfades between different media cues. Experiment with timing and transitions to enhance the visual impact and storytelling of your projection mapping.
Step 8: Test and Rehearse
Test your projection mapping cues within the QLab workspace to ensure everything functions as intended. Preview the cues, make any necessary adjustments, and iterate until you achieve the desired visual effect. Rehearse your entire performance, paying close attention to the synchronization of projection cues with other technical elements.
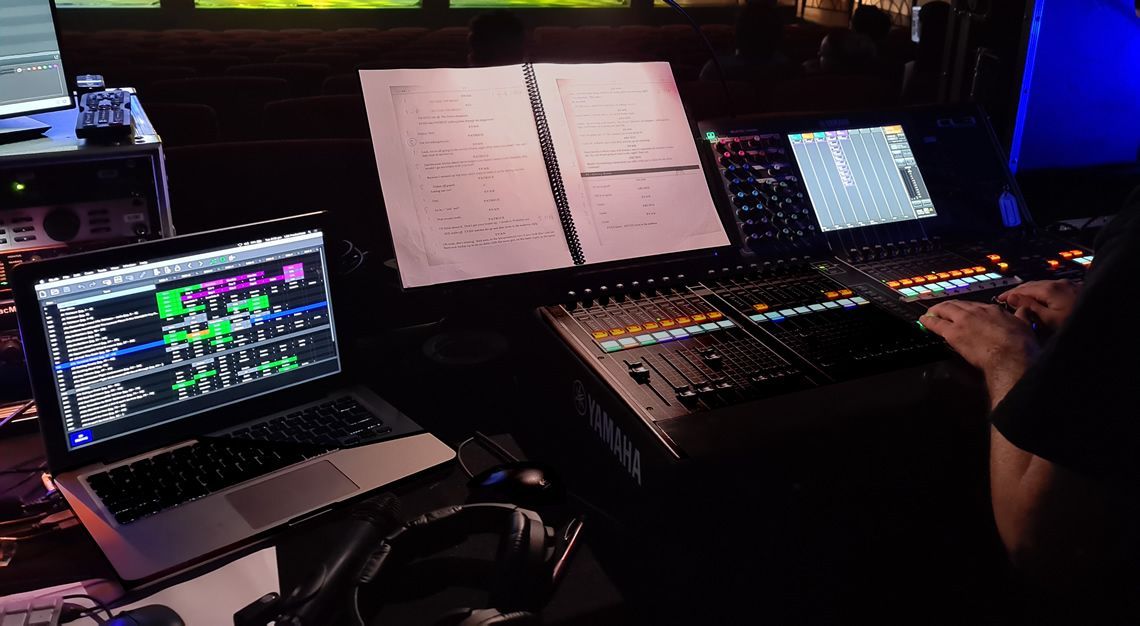
Step 9: Perform and Wow Your Audience
With your projection mapping cues perfected in QLab, it's time to bring your production to life. Execute your cues during the live performance, showcasing the stunning visuals created through projection mapping. Sit back, relax, and witness the awe and amazement of your audience as they experience the magic of projection mapping.
Remember, projection mapping with QLab is an art form that requires creativity, technical skill, and attention to detail. Take your time to experiment, explore new possibilities, and push the boundaries of what's possible with this incredible technology.
Now that you have a more detailed understanding of the steps involved in setting up projection mapping within QLab, you're well-equipped to dive into this exciting world of visual storytelling. Remember to experiment, practice, and refine your techniques to create truly captivating and immersive experiences for your audience.
Stay tuned for more tech tips and industry insights from Tech Direction, your trusted source for all things technical in the world of live entertainment.
Note: QLab is a registered trademark of Figure 53, LLC and is not affiliated with Tech Direction.