Harnessing the Power of NDI in QLab
How-to Get Started with NDI Cameras and Sources using QLab
In today's digital age, live productions are constantly evolving, and new technologies continue to revolutionize the way we create and deliver captivating experiences. One such technology is NDI (Network Device Interface), which enables seamless transmission of high-quality video and audio over standard computer networks. And when it comes to incorporating NDI cameras and sources into your live productions, QLab is the perfect companion to unleash their full potential. In this step-by-step guide, we'll walk you through the process of connecting and testing an NDI source within QLab.
Step 1: Setting Up Your NDI Network
The first step is setting up your NDI network correctly. Connect your NDI-enabled devices or cameras to the same network as your computer running QLab 5. Ensure that each device has a unique IP address and that all devices can communicate within the network.
Step 2: Installing and Configuring NDI Tools
To incorporate NDI sources in QLab 5, the NDI Tools software suite is essential. It's available for both macOS and Windows. Download and install NDI Tools from the official NDI website (ndi.tv/tools). Once installed, run NDI Scan Converter. This tool lets you broadcast your computer's screen or specific application windows as NDI sources.
Step 3: Testing NDI Sources in QLab
With the NDI Tools installed and running, it's time to check your NDI sources within QLab:
- Open QLab and create a new workspace or open an existing one.
- Navigate to the "Cue List" in the workspace and click the "+" button to add a new Video Cue.
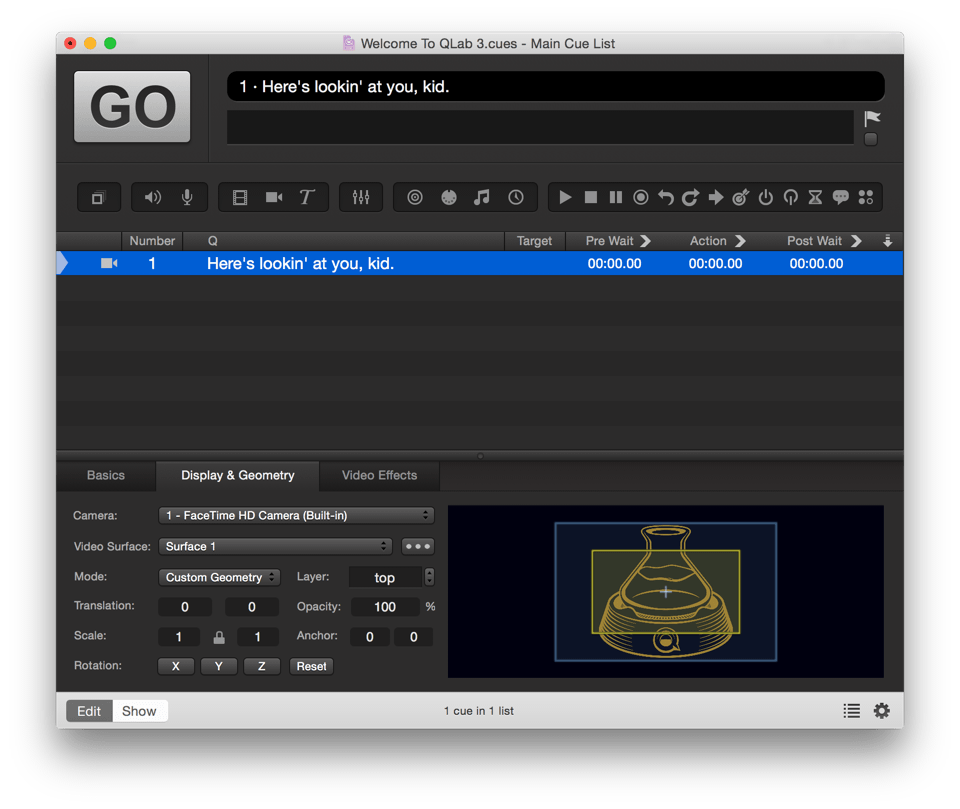
- Select your new video cue and navigate to the "Display & Geometry" tab in the inspector panel.
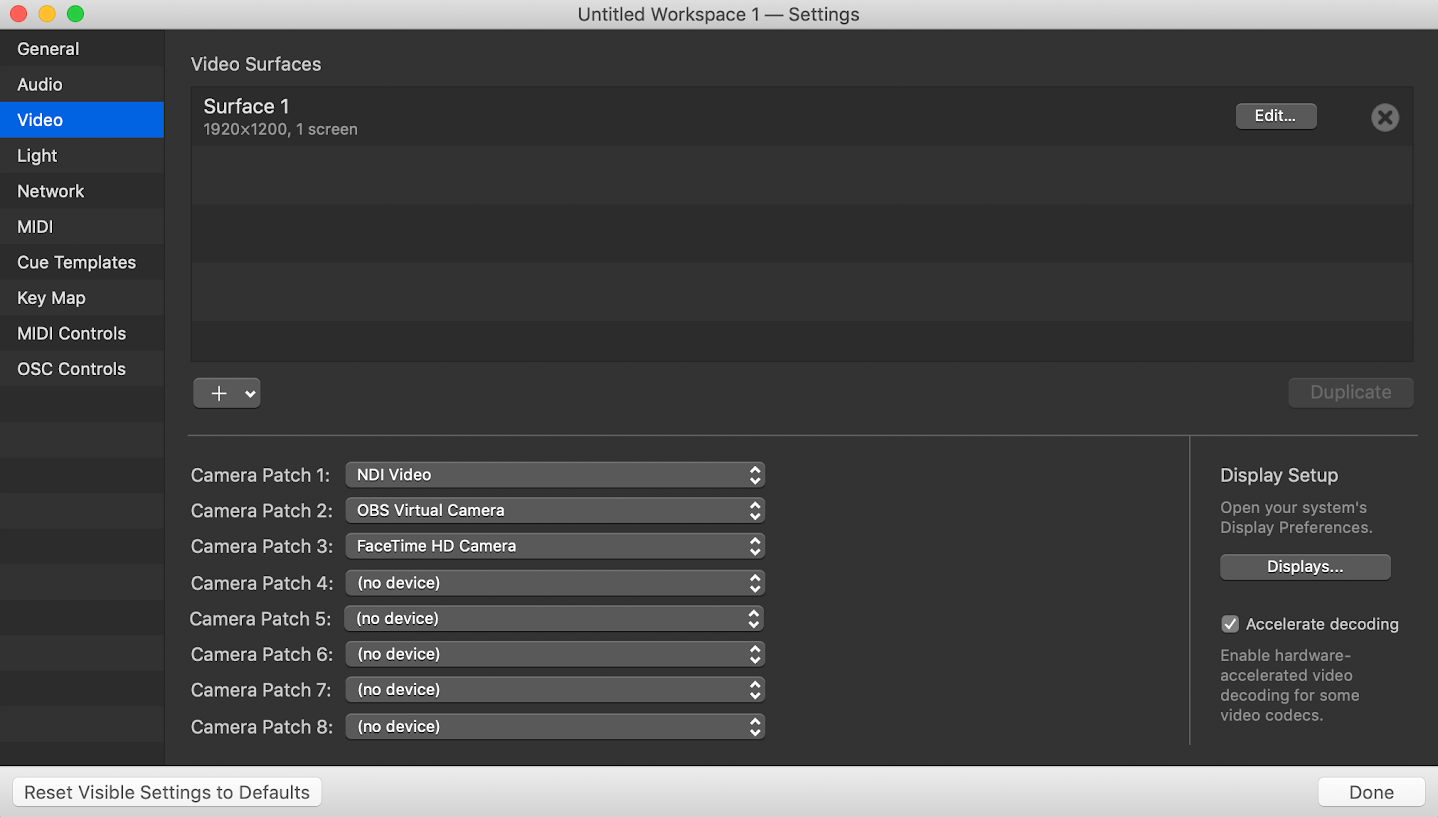
- In the "Surface" dropdown menu, select the video surface you want your NDI source to be projected onto.
- In the "Source" section, select "Network (Syphon/NDI)" as the source type.
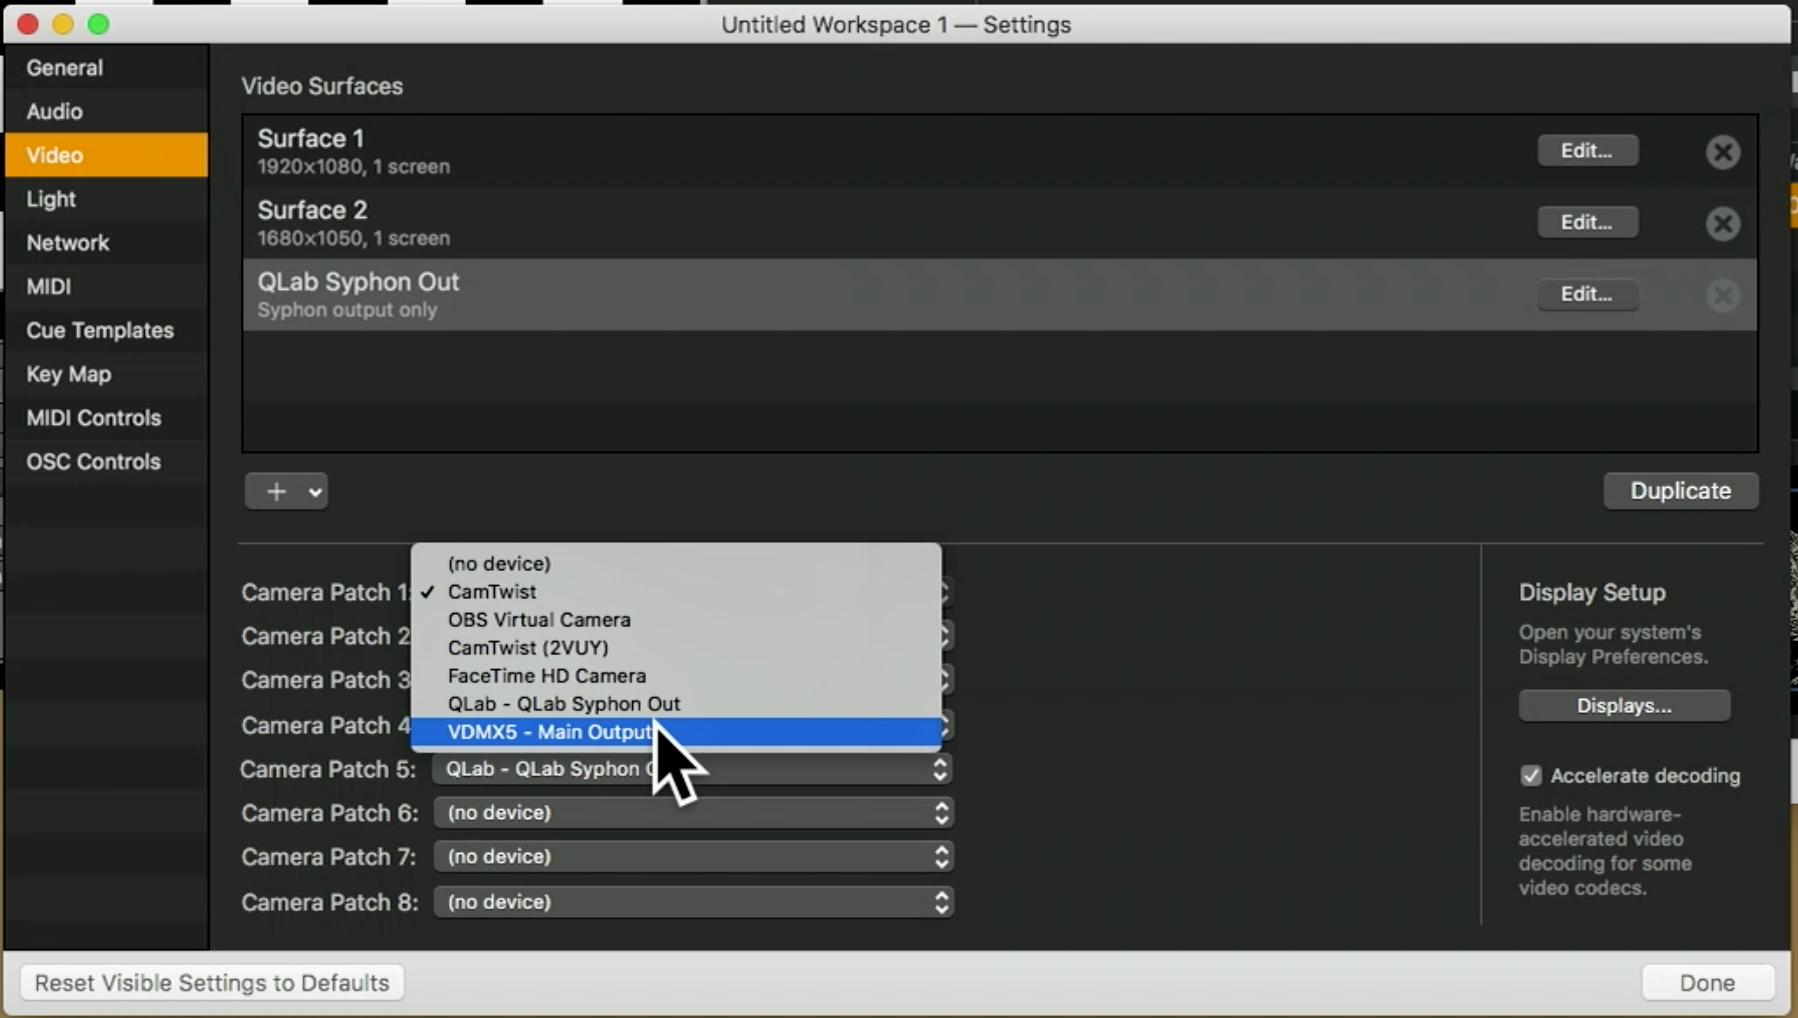
- QLab will automatically find any available NDI sources on your network. Select the appropriate NDI source from the list.
- Tweak the properties of your video cue as needed. This could include changes to position, scale, and opacity.
- Preview your NDI source by hitting the "Go" button or pressing the space bar on your keyboard.
- If your NDI source shows up as anticipated, you're good to go! If not, recheck your NDI network configuration and ensure your NDI source is correctly set up and visible within NDI Tools, then try again.
Step 4: Advancing Your NDI Workflow
Successfully testing an NDI source in QLab opens up a world of possibilities. You can blend multiple NDI sources, integrate them with other multimedia elements in cues, and use QLab's robust automation features to design complex, synchronized sequences.
NDI cameras and sources bring flexibility and simplicity to live productions, doing away with the need for extensive cabling and hardware. With QLab 5 as your command center, integrating NDI sources into your creative vision becomes a breeze, allowing you to captivate your audience with stunning visual experiences.
Note: NDI is a registered trademark of NewTek, Inc. and is not affiliated with Tech Direction.


